


Denon DJ MCX8000 - Crossfader Replacement
 The MCX8000 is a true hardware/software controller that offers total command of both Serato DJ and Denon DJ Engine technology. Some parts of this controller have been designed to be user-replaceable. This guide is a step-by-step walk through on how to replace the MCX8000 crossfader.
Contents
Tools needed:
- 5/64" Hex key or 2 mm Hex key (Allen Wrench)
Parts List
- Crossfader PCB Assembly (Part# 1704-MC4K-B173)
- Crossfader Panel (Part# 300-7K-2223)
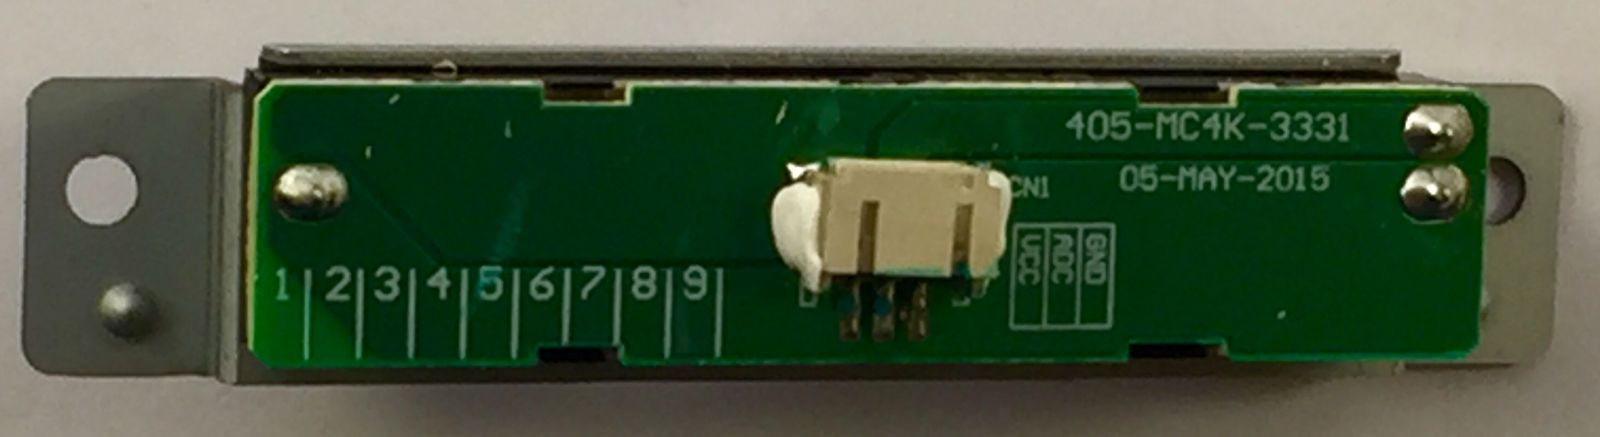
Note: The Screws, Cable, and Plate are re-usable for your MCX800's crossfader. The Crossfader PCB (above) is the only part that is required for a crossfader replacement. Please reuse the Screws, Plate, and Cable.
Removing the Crossfader from the MCX8000
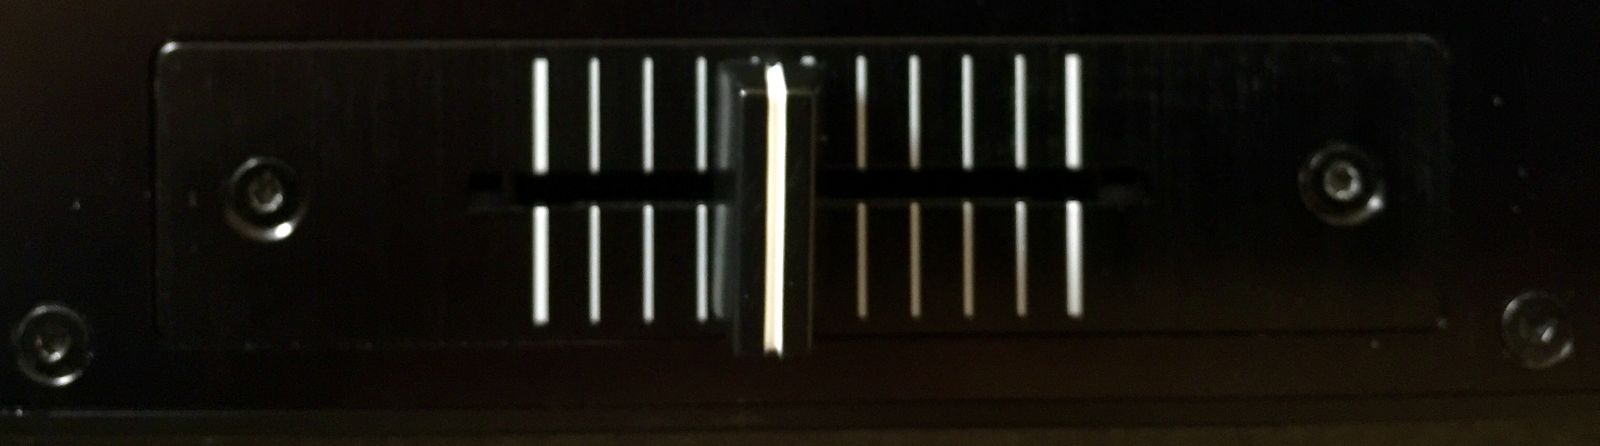
- Remove the crossfader knob by pulling it gently straight up.
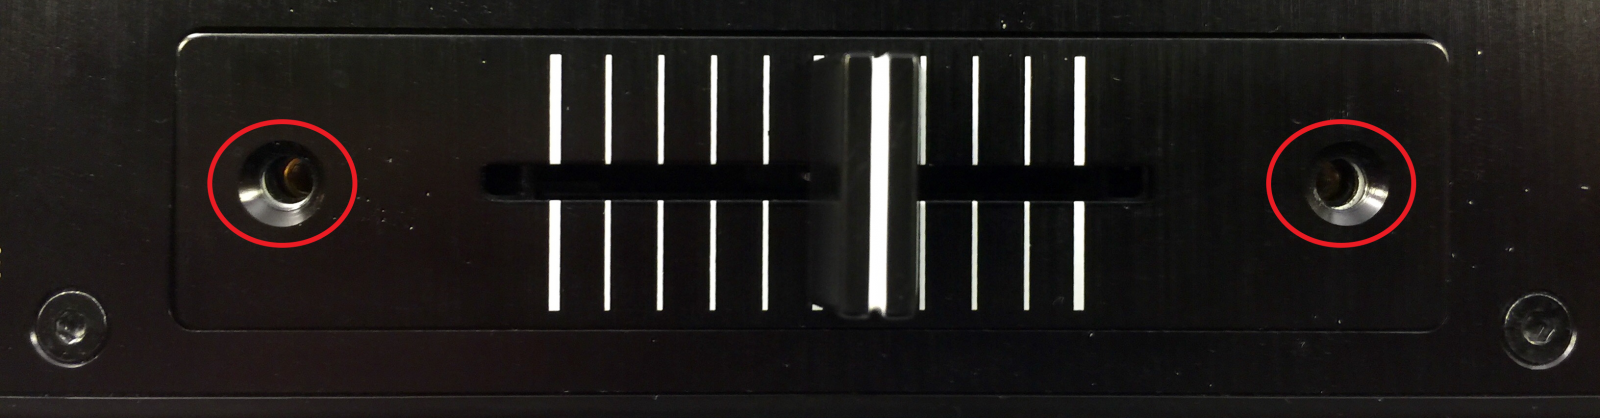
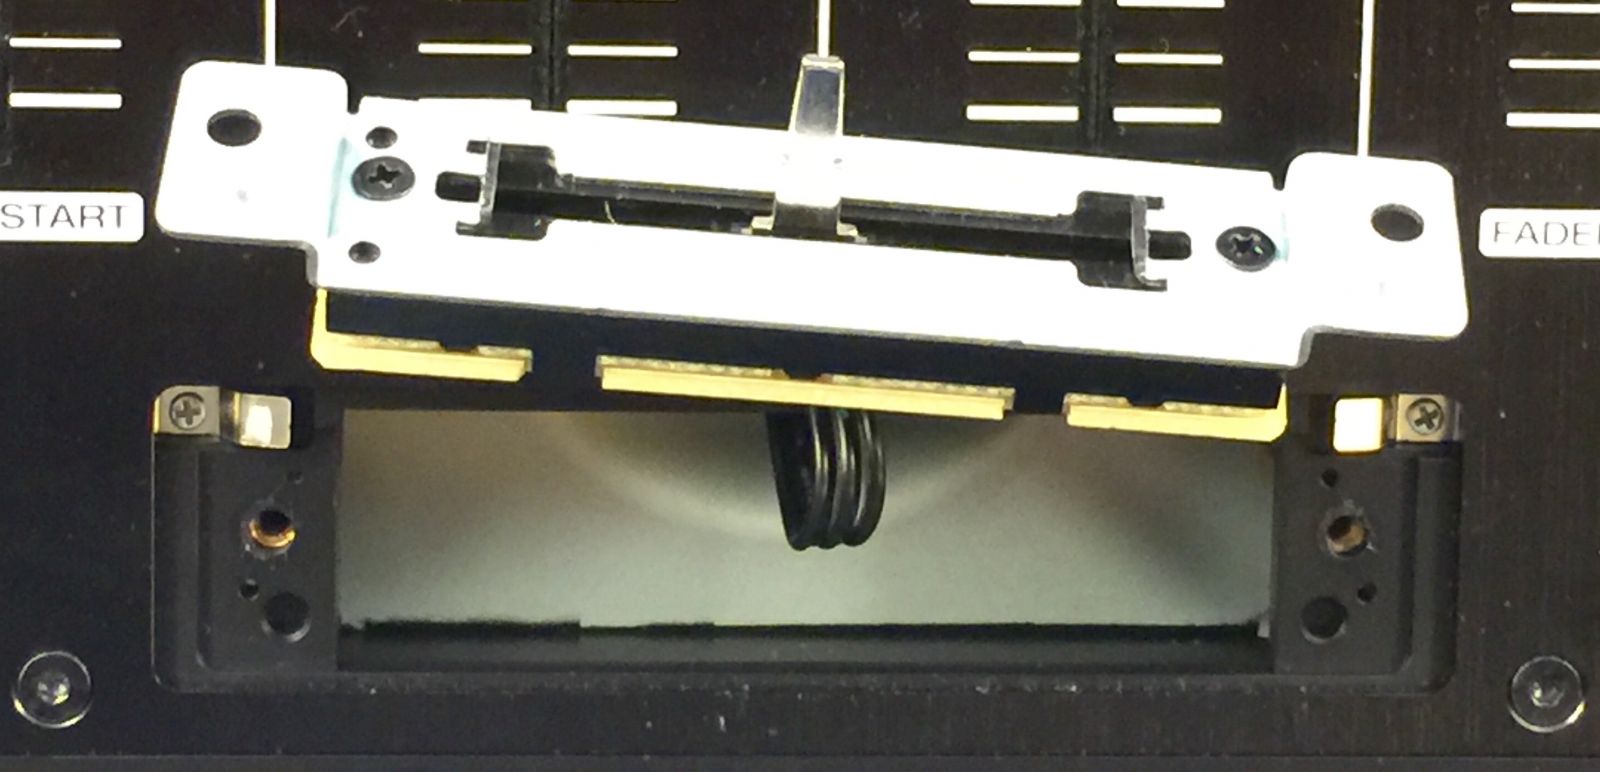
- Remove the two (2) hex head screws from the sides.
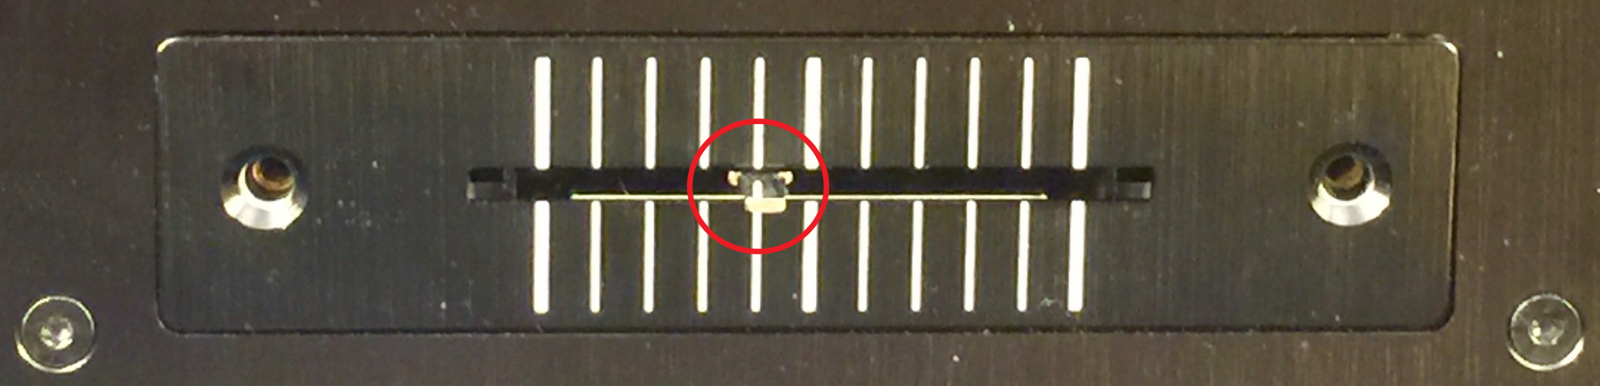
- Carefully lift up the crossfader plate and then tip the crossfader toward the rear of the unit and carefully lift out.
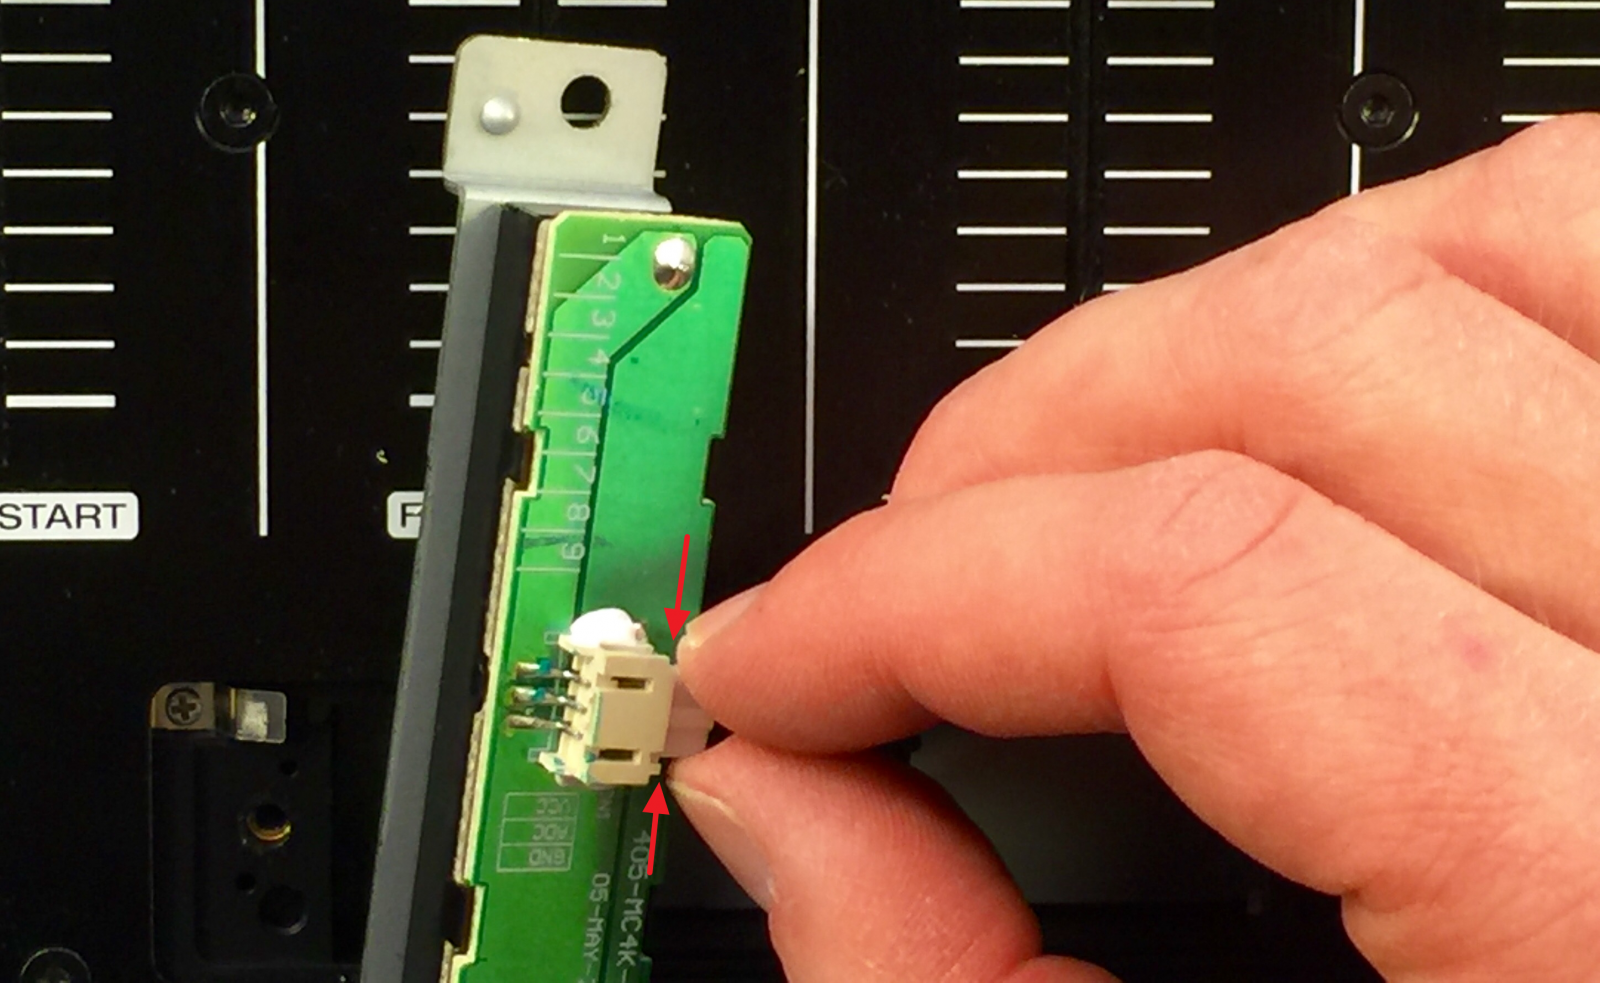
- While carefully pushing in the sides of the connector, carefully disconnect the cable.
- Now connect the new crossfader PCB, tuck the wiring back into the mixer, assemble the crossfader plate back on and then screw the (2) hex head screws back onto each side.
- That's it!
Further Technical Support
Whether you are a customer or dealer, if you already own an Denon DJ product, or if you just have pre-sales questions, the Numark technical support team is available to help!
Visit the link below to connect with any of the following support options: online community support, phone support, email support.